
Replace the rear camera on an iPhone 12
This tutorial explains how to replace the rear camera module of an iPhone 12 (models A2403, A2172, A2402, A2404). It requires patience and care, as you need to open the screen and disconnect the battery.
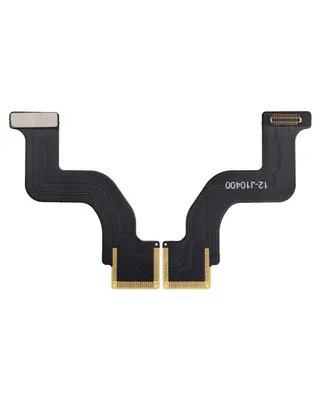 The part for this repairRear ultra-wide camera flex cable for iPhone 12 (to be soldered) – Compatiblefrom €8.90View the part →
Tools needed
- Pentalobe screwdriver
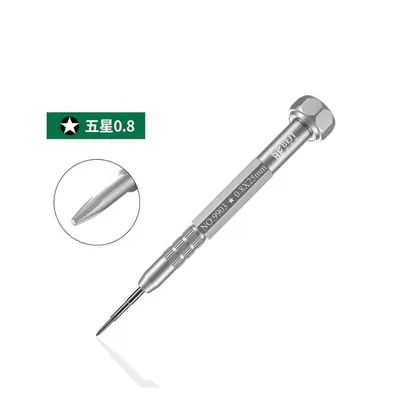 on sale · €8.90
- Fine Phillips screwdriver
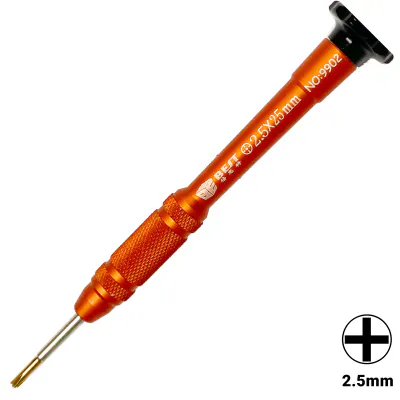 on sale · €8.90
- Suction cup
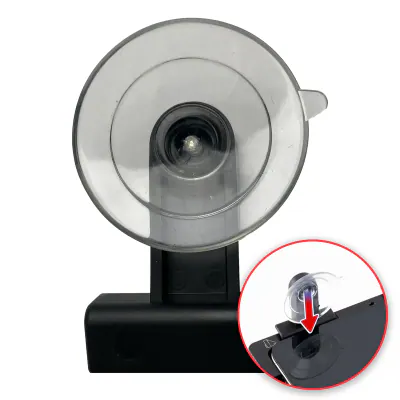 on sale · €7.90
- Thin flat plastic tool for prying
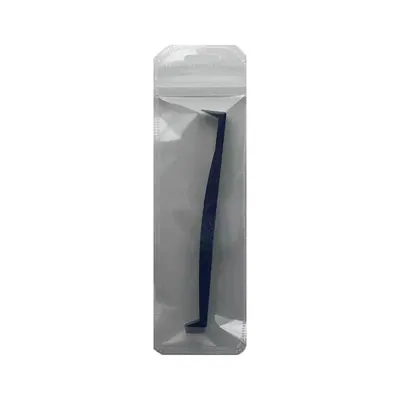 on sale · €6.90
- Plastic spudgeron sale · €6.90
- Fine-tipped anti-static tweezers
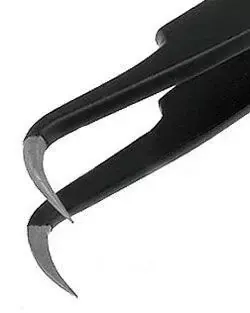 on sale · €7.90
- Gentle, controlled heat source (heat mat or hairdryer)
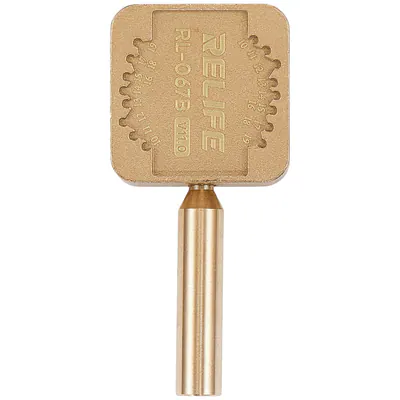 on sale · €12.90
- Anti-static wrist strap
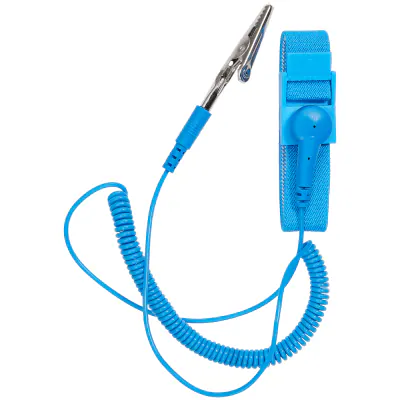 on sale · €7.90
- Mat or magnetic tray to store the screws
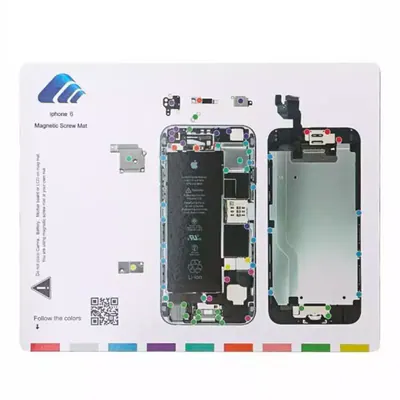 on sale · €6.90
- Compatible replacement rear camera module
- New screen adhesive seal
Safety
- Lithium-ion battery: do not puncture it, bend it or pry against it with a metal tool. A swollen, hot or damaged battery must not be reused.
- Heat: heat in short, moderate steps; excessive heat damages the screen, battery and seals.
- Static electricity: work on a non-metallic surface and discharge yourself before touching the ribbon cables.
- The phone will be less water-resistant after opening if the adhesive is not replaced correctly. Do not immerse it in water.
- Back up your data and switch off the device before you start.
Steps
Diagram · Device switched off, clean workspace 1Prepare the phone
Back up your data, then switch off the iPhone completely. Set up on a clean, well-lit work surface and put on your anti-static wrist strap.
Diagram · Unscrew and keep the screws safe 2Remove the bottom screws
Unscrew the two small pentalobe screws on either side of the charging port. Keep them in a marked place so they do not get lost.
Diagram · Suction cup, then pick 3Heat and lift the screen
Gently heat the edges of the screen to soften the adhesive. Place the suction cup at the bottom of the screen, pull lightly and slide the flat tool into the gap, then work carefully around the edge without inserting the tool too deeply.
Diagram · Open like a book 4Open the screen carefully
Lift the screen like the cover of a book, without forcing it, as ribbon cables still connect it to the phone. Prop it open on a stable support so it does not pull on the cables.
Diagram · Disconnect the battery first 5Disconnect the battery, then the screen
Remove the metal cover protecting the battery connector and disconnect the battery first, lifting the connector with a plastic spudger. Then do the same for the screen connectors, and set the screen aside.
Diagram · Old part: rear camera 6Remove the old camera
Locate the rear camera module and unscrew any shields and screws holding it in place, noting where each one goes. Gently disconnect its connector with a plastic spudger, then remove the module without pulling on the neighbouring cables.
Diagram · New part: rear camera 7Install the new camera
Place the replacement module in the same housing, checking that it sits flat. Reconnect its connector without pressing hard, then refit the shields and screws in their correct positions.
Diagram · Test before closing up 8Test before closing
Reconnect the battery, then the screen without sticking it down. Switch on the phone and check that the camera works for both photos and video. Then switch it off completely and disconnect the battery again.
Diagram · Test before closing up 9Close up and finish
Refit the battery cover, reconnect the battery and screen, then apply the new adhesive seal. Press gently along the edges to secure the screen, screw in the two bottom pentalobe screws and carry out a final test.