
Replacing the screen on an iPhone 12
This tutorial explains how to replace the screen of an iPhone 12 (models A2403, A2172, A2402 and A2404) by opening the device from the front. It requires patience and a gentle touch, especially around the battery and the flex cables.
 The part for this repairLCD screen for iPhone 12 (v3) – Compatiblefrom €30.90View the part →
Tools needed
- Pentalobe screwdriver suited to the screws at the bottom of the phone
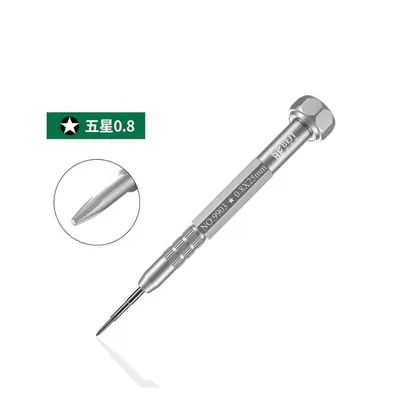 on sale · €8.90
- Precision Phillips screwdriver
 on sale · €9.90
- Suction cup
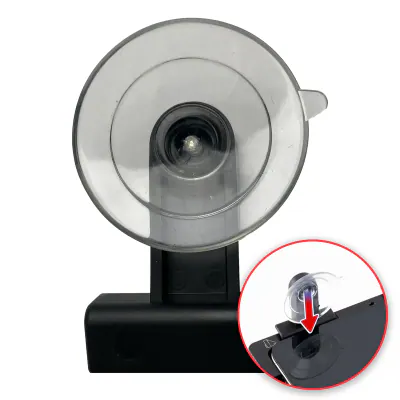 on sale · €7.90
- Opening picks or thin plastic blades
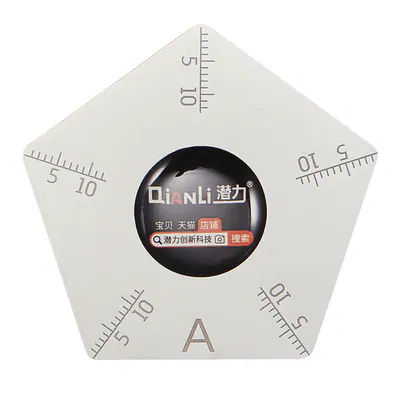 on sale · €7.90
- Fine tweezers with plastic or anti-static tips
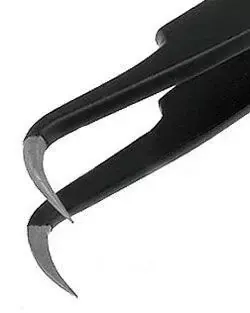 on sale · €7.90
- Plastic lifting tool (spudger)
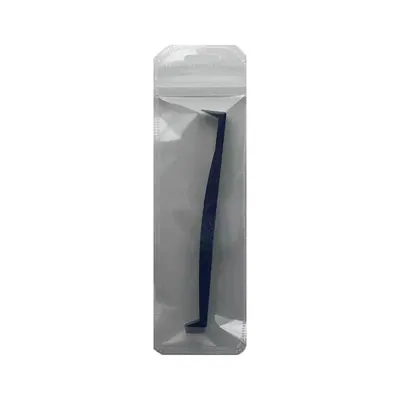 on sale · €6.90
- Gentle, controlled heat source (repair hot plate or hairdryer)
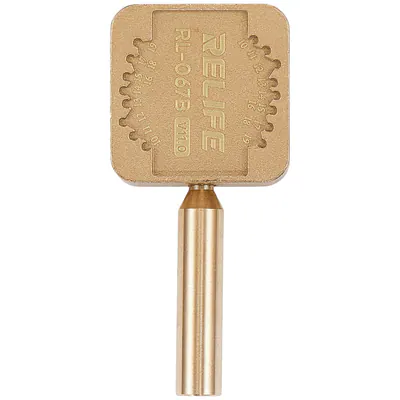 on sale · €12.90
- Anti-static wrist strap
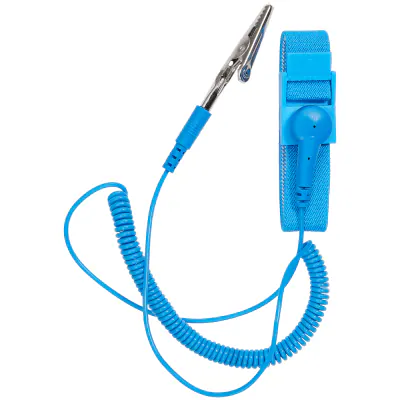 on sale · €7.90
- Mat or tray for sorting the screws
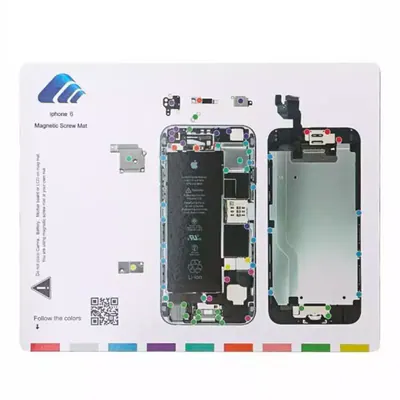 on sale · €6.90
- Isopropyl alcohol and lint-free cloth
 on sale · €13.90
- Compatible replacement screen
- Replacement adhesive seal
Safety
- Lithium-ion battery: do not puncture it, bend it or lever it with a metal tool. A swollen, hot or damaged battery must not be reused.
- Heat: heat in short, moderate steps; too much heat damages the screen, the battery and the seals.
- Static electricity: work on a non-metallic surface and discharge yourself before touching the flex cables.
- Device switched off and unplugged: switch the phone off completely and disconnect all cables before you start.
- Glass shards: if the glass is cracked, cover it with clear adhesive tape and protect your eyes and hands.
- The flex cables and connectors are very fragile: never pull on a cable and do not force a connector that does not seat properly.
Steps
Diagram · Device switched off, clean workspace 1Prepare the phone and the workspace
Switch off the phone, disconnect all cables and set up on a clean, well-lit surface. Put on your anti-static wrist strap and prepare a tray to sort the screws by location.
Diagram · Unscrew and keep the screws safe 2Remove the bottom screws
Unscrew the two small screws on either side of the charging port, using the appropriate screwdriver. Store them separately, as they differ from the other screws.
Diagram · New adhesive 3Soften the adhesive around the edge
Gently heat the edges of the screen, without staying in the same spot, to soften the glued seal. The glass should only be warm, never hot.
Diagram · Suction cup, then pick 4Lift the screen at the edge
Place the suction cup near the bottom of the screen and pull gently to create a small gap. Slide a thin blade into this gap, without pushing it deep enough to touch the internal flex cables, then run it all the way around to cut the adhesive.
Diagram · Open like a book 5Open the screen like a book
Lift the screen very slightly and open it like the cover of a book, keeping the flex cable side as a hinge. Rest it against a stable support and do not open it wide, as the cables are still connected.
Diagram · Disconnect the battery first 6Disconnect the battery
Remove the metal bracket protecting the battery connector, then disconnect the connector with a plastic tool by lifting it straight up. Move it slightly aside so it cannot reconnect by itself.
Diagram · Lift the connectors 7Disconnect and remove the screen
Remove the brackets covering the screen connectors, then lift each connector with the plastic tool. Set the old screen aside, keeping the screws sorted by bracket.
Diagram · New part: screen 8Transfer the necessary parts and clean
If the replacement screen does not already include them, carefully move the small parts to be reused, such as brackets and protective shields, by comparing them with the old screen. Clean the edges of the chassis with a little isopropyl alcohol, then fit the new adhesive seal.
Diagram · Test before closing up 9Reconnect and test before closing
Reconnect the battery first, then the screen flex cables, placing them straight and pressing gently. Refit the brackets and screws, switch the phone on and check the display, touch, call audio and sensors. If a problem appears, switch off, disconnect the battery and check the connections again.
Diagram · Test before closing up 10Close and screw in
Switch the phone off again, align the screen with the chassis and press gently around the edge until it sits properly. Refit the two bottom screws without forcing them.