
Replace the screen on an iPhone 14 Pro
This tutorial explains how to replace the screen on an iPhone 14 Pro (models A2890 and A2650), from opening the device to reassembly. It requires precision, as the flex cables and connectors are very fragile.
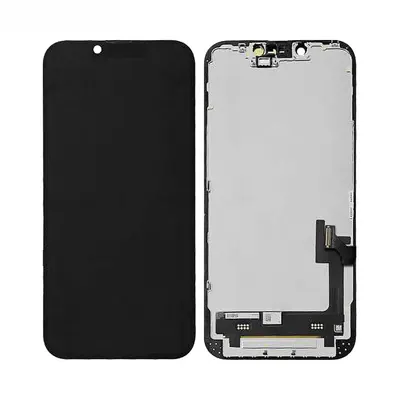 The part for this repairIncell HD+ screen for iPhone 14 Pro – Compatible – Blackfrom €39.90View the part →
Tools needed
- Pentalobe screwdriver
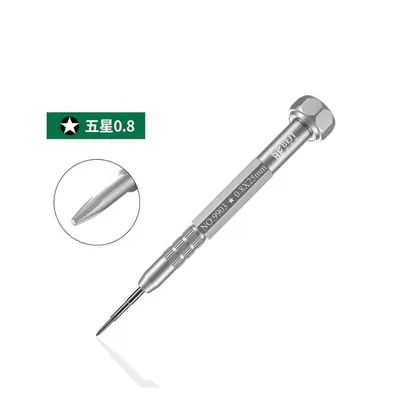 on sale · €8.90
- Fine Phillips screwdriver
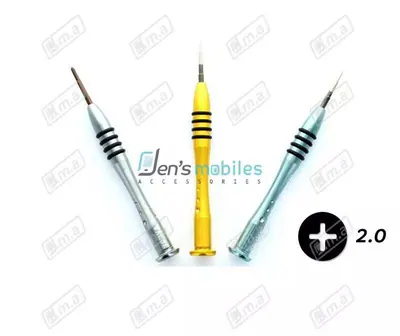 on sale · €9.90
- Suction cup
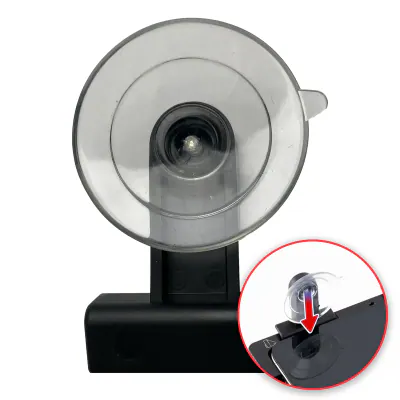 on sale · €7.90
- Fine plastic opening tool (spudger or prying tool)
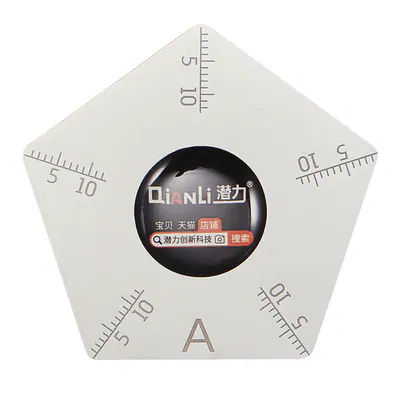 on sale · €7.90
- Fine anti-static tweezers
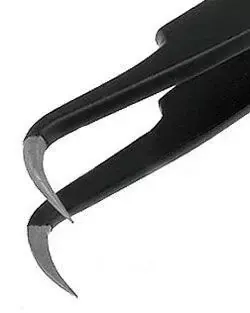 on sale · €7.90
- Gentle heat source (heating plate or hair dryer)
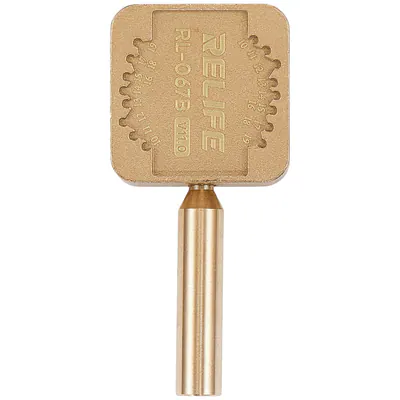 on sale · €12.90
- Anti-static wrist strap
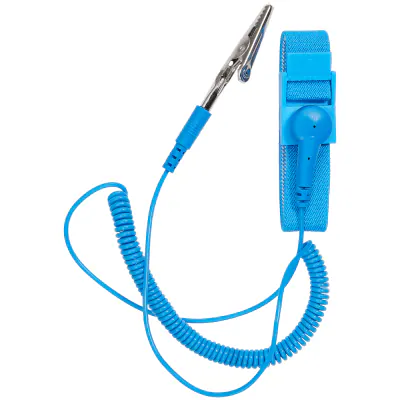 on sale · €7.90
- Boxes or trays to store screws by step
- Mat or soft cloth
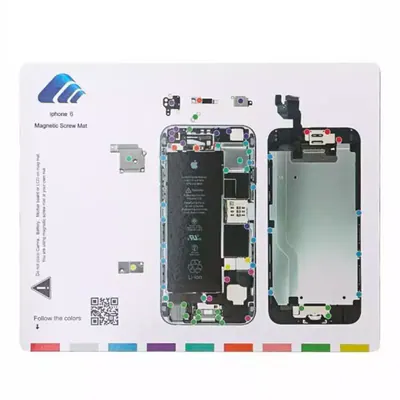 on sale · €6.90
- Compatible replacement screen
Safety
- Lithium-ion battery: do not puncture it, bend it or lever it with a metal tool. A swollen, hot or damaged battery must not be reused.
- Heat: heat in short, moderate bursts; too much heat damages the screen, the battery and the seals.
- Static electricity: work on a non-metallic surface and discharge yourself before touching the flex cables.
- The glass may be cracked: wear protective glasses and protect your fingers. If the glass is broken, stick adhesive tape over it to limit splinters.
- Never cut a flex cable and do not force a connector: it clips in effortlessly when properly aligned.
Steps
Diagram · Device switched off, clean workspace 1Prepare the device and workspace
Switch the phone off completely and disconnect all cables. Sit at a clean, well-lit mat, put on the anti-static wrist strap and prepare boxes to store the screws by step.
Diagram · Unscrew and keep the screws safe 2Remove the bottom screws
Using the pentalobe screwdriver, unscrew the two screws on either side of the charging connector. Keep them together in a separate box.
Diagram · Suction cup, then pick 3Heat and lift the screen
Gently heat the edges of the screen to soften the adhesive seal. Place the suction cup, pull lightly to create a small gap, slide in the fine plastic tool and go around the edge, keeping very shallow so as not to damage the flex cables.
Diagram · Open like a book 4Open the screen without pulling it
Lift the screen like the cover of a book, without tearing it off, as it remains connected to the phone by flex cables. Prop it in a stable position, taking care not to strain the cables.
Diagram · Disconnect the battery first 5Disconnect the battery
Remove the metal bracket covering the battery connector, then disconnect that connector by lifting it with the plastic tool, without pressing on the battery. This step prevents any short circuit during the rest of the disassembly.
Diagram · Old part: screen 6Disconnect and remove the screen
Remove the metal brackets over the screen connectors, noting where each screw goes, then disconnect the flex cables one at a time by lifting them straight up. Set the old screen aside.
Diagram · New part: screen 7Transfer the parts to keep
Depending on your replacement screen, carefully transfer onto the new screen any small components not already fitted, such as the earpiece speaker with its sensors and the internal shielding. The face recognition elements are very fragile: handle them with tweezers, without touching them with your fingers and without bending them.
Diagram · Test before closing up 8Connect the new screen and test
Connect the flex cables of the new screen, then refit the brackets and their screws in their original positions. Next reconnect the battery, switch the phone on without closing it and check the display, touch response, earpiece sound and brightness before continuing.
Diagram · Device switched off, clean workspace 9Close and screw in
Switch the phone off, check that the waterproof seal is correctly in place and clean, then fold the screen down without pinching any flex cable. Press gently around the edges to clip it in and refit the two bottom screws, without overtightening.