
Replace the rear camera on an iPhone 15
This tutorial explains how to replace the rear camera module of an iPhone 15 (models A3090 and A2846) by opening the device from the back. It requires patience and great care.
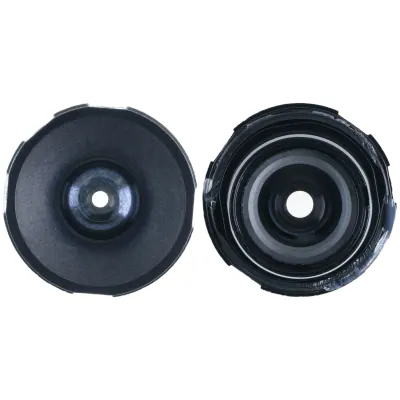 The part for this repairRear ultra-wide camera for iPhone 15 (LED) – Compatiblefrom €8.90View the part →
Tools needed
- Precision screwdrivers suited to the device’s screws
- Thin plastic opening tool
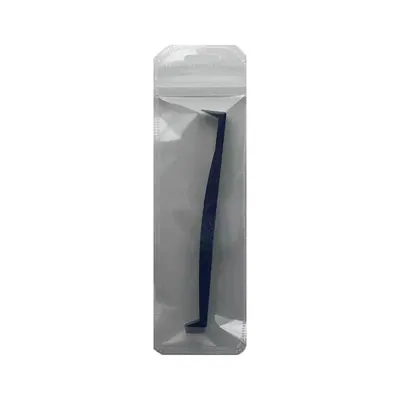 on sale · €6.90
- Guitar picks or thin plastic cards
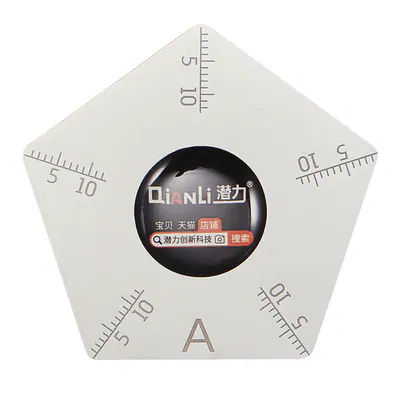 on sale · €7.90
- Plastic or anti-static tweezers with fine tips
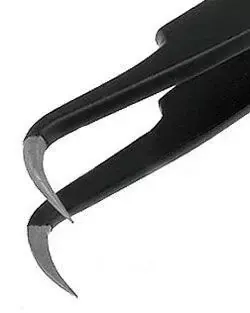 on sale · €7.90
- Gentle heat source with adjustable temperature
- Suction cup
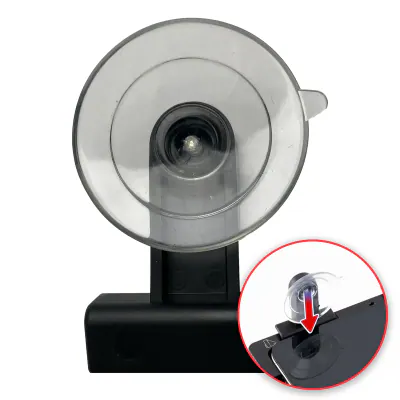 on sale · €7.90
- Anti-static wrist strap
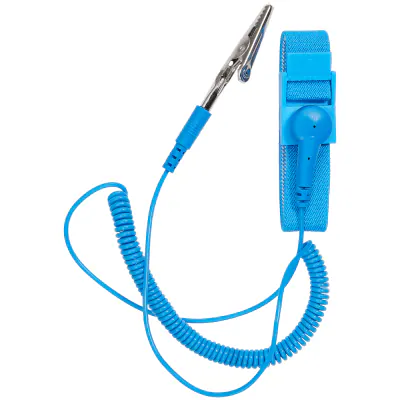 on sale · €7.90
- Magnetic tray or mat to sort the screws
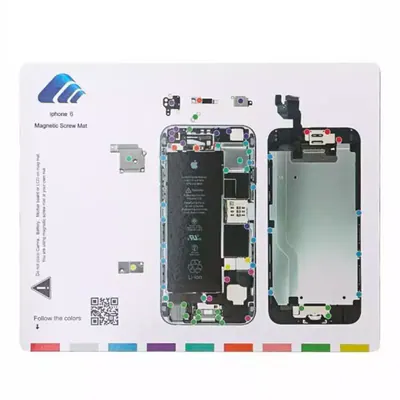 on sale · €6.90
- Replacement adhesive for the rear glass
- Replacement rear camera compatible with the model
Safety
- Lithium-ion battery: do not puncture it, bend it or pry it with a metal tool. A swollen, hot or damaged battery must not be reused.
- Heat: heat in short, moderate steps; too much heat damages the screen, the battery and the seals.
- Static electricity: work on a non-metallic surface and discharge yourself before touching the ribbon cables.
- Switch off the device and disconnect all cables before you begin.
- Ribbon cables and connectors are very fragile: never force them, and lift them straight up without jerking.
- Do not reuse screws from another location: note where each screw goes, as their lengths may differ.
Steps
Diagram · Device switched off, clean workspace 1Prepare the device and workspace
Switch off the iPhone completely, remove the case and, if possible, use it until the battery is low. Set up on a clean, well-lit surface and put on your anti-static wrist strap.
Diagram · Heat gently 2Heat the rear glass
Apply gentle heat across the entire rear glass to soften the adhesive holding it in place. Avoid overheating one spot, especially near the cameras and the battery.
Diagram · Suction cup, then pick 3Lift the rear glass
Place the suction cup, pull gently to create a small gap, then slide a thin plastic tool in. Work around the glass to cut the adhesive without pushing the tool in too deeply.
Diagram · Lift the connectors 4Open without tearing the ribbon cable
Lift the rear glass like the cover of a book, without opening it fully. A ribbon cable still connects it to the rest of the device, so disconnect it carefully before separating the glass.
Diagram · Disconnect the battery first 5Disconnect the battery
Remove the metal bracket protecting the battery connector, keeping its screws separate. Then lift the battery connector with a plastic tool to cut the power supply.
Diagram · Lift the connectors 6Disconnect the camera
Remove any covers or plates over the rear camera connector, then gently lift that connector. Keep each screw in the order you removed it.
Diagram · Old part: rear camera 7Remove the old camera
Take out the screws or brackets securing the module, then lift it carefully, without pressing on the lenses. If the module resists, check that no screw or ribbon cable is still holding it.
Diagram · New part: rear camera 8Install the new camera
Place the new module in position, lying flat, without touching the lenses. Refit its fixings, then reconnect its connector by pressing gently until it is properly seated.
Diagram · Test before closing up 9Test before closing
Reconnect the battery and the rear glass ribbon cable, then switch on the iPhone without sticking the glass down. Check that the rear camera works properly for photos and video, then switch the device off again and disconnect the battery before continuing.
Diagram · Test before closing up 10Close and stick the rear glass
Put all covers and screws back in place, reconnect the battery, then clean the edges and apply new adhesive. Replace the rear glass, press evenly around the edge and let it set properly before using the device.